


Who can do this: Owner and Administrator. Viewer can open Integrations, but the buttons are grayed out. Finance, Fundraiser, Programs and Front desk don't see "Integrations" in the menu.
Quick steps: Settings › "Integrations" › QuickBooks Online › "Connect" › sign in to QuickBooks › back in Clerestory, "Manage" › work through the "Setup Checklist".
Before you start
- You need the Owner or Administrator role.
- You need a QuickBooks Online company, and a QuickBooks login that is allowed to connect apps to it.
- Ask your bookkeeper which QuickBooks income accounts each kind of payment should go to. You'll need this for the setup steps.
- Syncing means Clerestory sends each new payment to QuickBooks for you.
Connect
Page: /dashboard/settings/integrations
- In the left-hand menu, under Tools, click "Settings". A short list opens under it.
- Click "Integrations". You'll see a box called "QuickBooks Online" (below "Mailchimp"), with "Not Connected" at its top right.
- In the "QuickBooks Online" box, click "Connect".
- Your browser leaves Clerestory for QuickBooks. Sign in there, choose your company, and allow the connection.
- QuickBooks sends you back to Clerestory. You'll see "Connecting to QuickBooks Online...", then "Connected to QuickBooks Online" with your company's name.
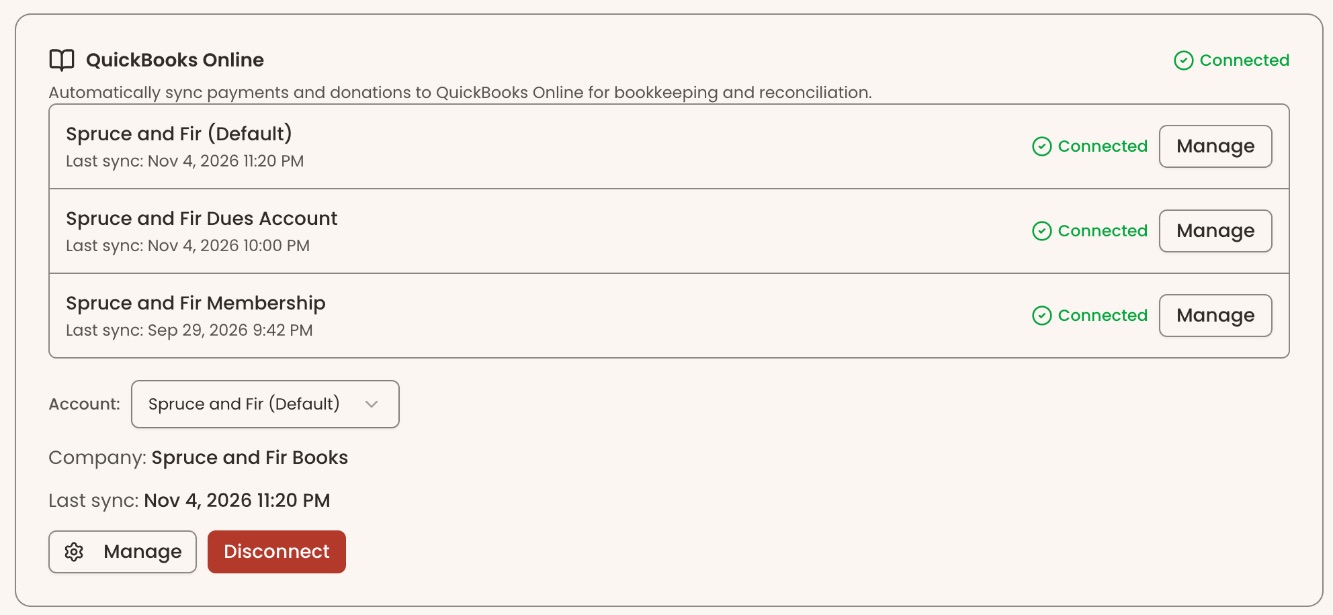
- You'll see "QuickBooks Online connected successfully", and the Integrations page opens again. The box now shows "Connected", your "Company:" and "Last sync:". That means it worked.
If you see "Connection failed", click "Try Again", or click "Back to Integrations" and click "Connect" again.
Check the connection
Page: /dashboard/settings/integrations/qbo
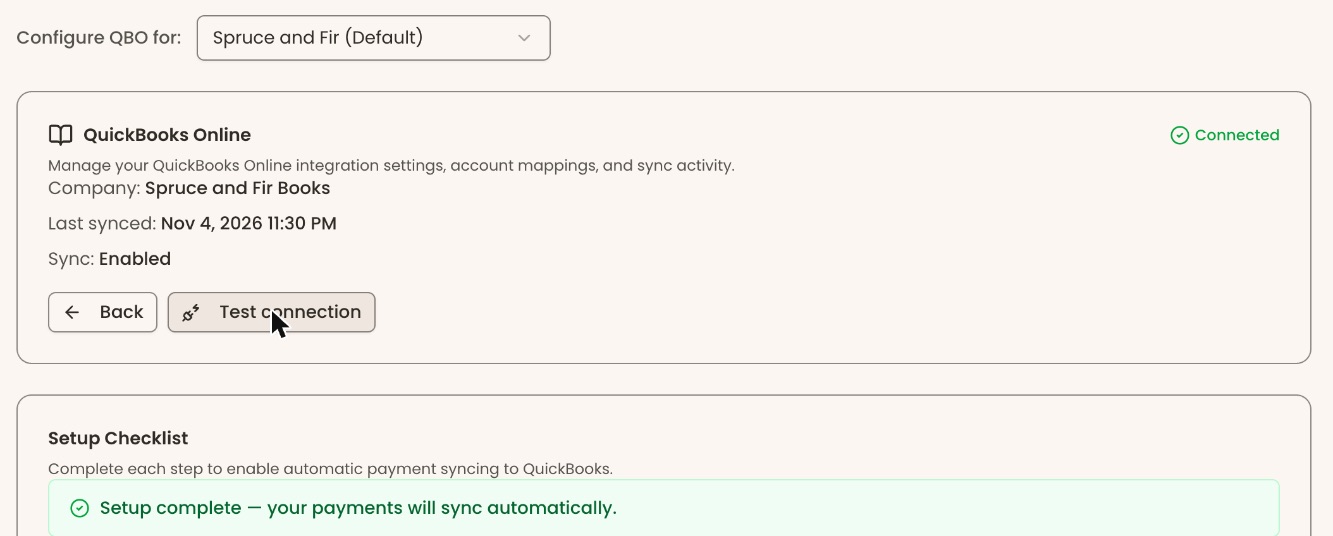
- On "Integrations", in the "QuickBooks Online" box, click "Manage". The QuickBooks settings page opens.
- Near the top, next to "Back", click "Test connection".
- You'll see "Connected to" and your company's name, or "The connection works". That means Clerestory can reach QuickBooks.
If you see "The connection did not work" (or another error message), or a yellow box saying QuickBooks stopped accepting the connection's login, click "Reconnect" and sign in to QuickBooks again.
Finish the setup
Connecting is the first step. Payments sync automatically only once every item in the "Setup Checklist" is done. The checklist is near the top of the "Manage" page:
- "Fee Configuration"
- "Account Mappings"
- "Deposit Account"
- "Payment Methods"
- "QBO Items Setup"
- On the "Manage" page, read the "Setup Checklist". An item that isn't done shows what's "Missing:". The first one to do is highlighted. Once everything is done, the list is replaced by "Setup complete — your payments will sync automatically."
- Scroll down to the box with the same name and fill it in. Each box says what it is for. For example, "Account Mappings" says "Map your Clerestory payment categories to QuickBooks income accounts."
- In "Setup Items", click "Setup Items" once your account mappings are saved. You'll see "… items processed (… created, … updated/reused)".
- When every item is done, the checklist says "Setup complete — your payments will sync automatically."
Your bookkeeper should choose the accounts in these boxes. This guide doesn't cover what to pick for each one.
Turn syncing off or on
- On the "Manage" page, scroll to "Sync Settings".
- Click the switch at the far right of the "Sync Enabled" row. When it's on, new payments are sent to QuickBooks automatically.
- You'll see "Sync disabled successfully" or "Sync enabled successfully".

While syncing is off, the top of the "Manage" page shows "Sync off" and "Sync: Disabled".
Disconnect
Important: Disconnecting stops Clerestory sending payments to QuickBooks. Your mapping choices are kept.
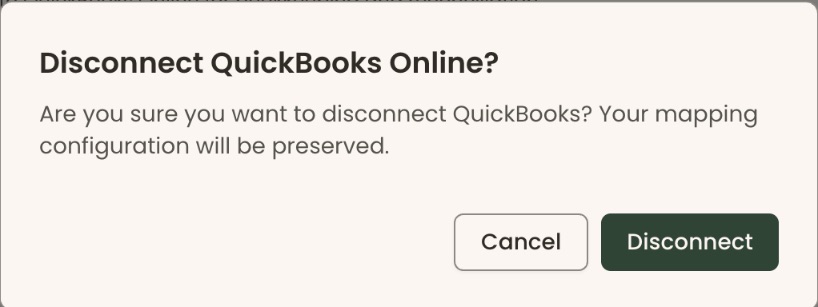
- On "Integrations", in the "QuickBooks Online" box, click "Disconnect". A box opens called "Disconnect QuickBooks Online?".
- The box asks "Are you sure you want to disconnect QuickBooks? Your mapping configuration will be preserved." Click "Disconnect" in the box, or "Cancel" to keep the connection.
- You'll see "QuickBooks disconnected successfully". The box shows "Not Connected" again.
To connect again later, click "Connect".
Special cases
- "Needs reconnecting". QuickBooks stopped accepting the login, for example after a password change. Click "Reconnect" (or "Connect") and sign in again. Payments don't reach QuickBooks until you do.
- More than one account. If your organization has more than one Clerestory account, the box lists each one with its own "Connect" or "Manage" button, and an "Account:" menu. Connect each one you use. On the "Manage" page, "Configure QBO for:" at the top picks which account you are setting up. A row with problems shows a link such as "2 failed syncs", which opens that account's "Manage" page.
- Sync history. The "Manage" page has a "Sync Activity" box listing what was sent to QuickBooks.
Buttons to avoid
- "Disconnect" (red) is next to "Manage". Click "Manage" to change settings.
If you make a mistake
Disconnected by mistake? Click "Connect" and sign in to QuickBooks again. Your mapping choices are still there.